Starting from a base CentOS system with nothing configured, and referencing the CentOS wiki, here is how I like to set up a headless virtualbox environment: Disable selinux. It’s overly cumbersome and is enabled by default in CentOS. I like to permanently disable it even though the default is permissive. I ride the edge, I know.``` vi /etc/selinux/config
and change
SELINUX=enabled
to
SELINUX=disabled
Then reboot.

Using the methodology I originally found found [here](http://stackoverflow.com/questions/14016286/how-to-programmatically-install-the-latest-epel-release-rpm-without-knowing-its), I like to install the epel repo using this method:```
cat <<EOM >/etc/yum.repos.d/epel-bootstrap.repo
 \[epel\]
 name=Bootstrap EPEL
 mirrorlist=http://mirrors.fedoraproject.org/mirrorlist?repo=epel-\\$releasever&arch=\\$basearch
 failovermethod=priority
 enabled=0
 gpgcheck=0
 EOM
``````
yum --enablerepo=epel -y install epel-release
 rm -f /etc/yum.repos.d/epel-bootstrap.repo
Install rpmforge repo``` rpm –import http://apt.sw.be/RPM-GPG-KEY.dag.txt rpm -Uvh http://packages.sw.be/rpmforge-release/rpmforge-release-0.5.2-2.el6.rf.x86_64.rpm yum clean all
yum install -y wget
cd /etc/yum.repos.d
wget http://download.virtualbox.org/virtualbox/rpm/rhel/virtualbox.repo
yum update
Now the interesting bits, lets get to the vbox install. Although we have enabled dkms, I like to also install as if we didn’t. It populates the system with the pieces we need in a way that I’m used to. I’m not a sysadmin by day, so this may be redundant. YMMV, etc. First, install the Development Tools. There are a lot here, it may take a bit depending on machine specs and connectivity speed in relation to mirrors. ``` yum groupinstall “Development Tools” yum install VirtualBox-4.2
service vboxdrv setup
Stopping VirtualBox kernel modules \[ OK \]
Uninstalling old VirtualBox DKMS kernel modulesError! There are no instances of module: vboxhost
4.2.6 located in the DKMS tree.
 \[ OK \]
Trying to register the VirtualBox kernel modules using DKMS
 \[ OK \]
Starting VirtualBox kernel modules \[ OK \]
At this point you’ve got virtualbox done and installed. Now, the real interesting part begins: VMs. I have a centos template that I built on my laptop. It’s got the settings I like and I can just import it. You can also build a new one, but that’s for a different post. I moved the template via scp over to the newly anointed VM host. Now, I just need to import it and I can start cloning. vboxmanage is the command we’re going to be utilizing heavily and it’s really powerful. ``` vboxmanage import /home/buraglio/centos-63-template.ova
0%...10%...20%...30%...40%...50%...60%...70%...80%...90%...100%
Interpreting /home/buraglio/centos-63-template.ova...
OK.
Disks: vmdisk1 150 1359413248 http://www.vmware.com/interfaces/specifications/vmdk.html#streamOptimized centos-63-template-disk1.vmdk 512919552 -1
Virtual system 0:
 0: Suggested OS type: "Linux26\_64"
 (change with "--vsys 0 --ostype <type>"; use "list ostypes" to list all possible values)
 1: Suggested VM name "centos-63-template"
 (change with "--vsys 0 --vmname <name>")
 2: Number of CPUs: 2
 (change with "--vsys 0 --cpus <n>")
 3: Guest memory: 4096 MB
 (change with "--vsys 0 --memory <MB>")
 4: Network adapter: orig ur1-vm1 72.36.126.200/29, config 5, extra type=Bridged
 5: CD-ROM
 (disable with "--vsys 0 --unit 5 --ignore")
 6: SCSI controller, type LsiLogic
 (change with "--vsys 0 --unit 6 --scsitype {BusLogic|LsiLogic}";
 disable with "--vsys 0 --unit 6 --ignore")
 7: IDE controller, type PIIX4
 (disable with "--vsys 0 --unit 7 --ignore")
 8: IDE controller, type PIIX4
 (disable with "--vsys 0 --unit 8 --ignore")
 9: Hard disk image: source image=centos-63-template-disk1.vmdk, target path=/home/buraglio/VirtualBox VMs/centos-63-template/centos-63-template-disk1.vmdk, controller=6;channel=0
 (change target path with "--vsys 0 --unit 9 --disk path";
 disable with "--vsys 0 --unit 9 --ignore")
0%...10%...20%...30%...40%...50%...60%...70%...80%...90%...100%
Successfully imported the appliance.
```

It's there. you should now have a folder in your home directory that has the VM in it.

```
ls -la VirtualBox\\ VMs/
total 12 drwx—— 3 buraglio buraglio 4096 Jan 29 20:23 . drwx——. 4 buraglio buraglio 4096 Jan 29 20:23 .. drwx—— 2 buraglio buraglio 4096 Jan 29 20:23 centos-63-template
vboxmanage list vms
"centos-63-template" {4875b540-5514-4d0b-bba8-ce255b7f44a2}
We have one VM named “centos-63-template”, which is exactly what I wanted. Now clone this VM to the first usable VM, I’m building a floodlight OpenFlow controller, so I’ll name it accordingly.``` vboxmanage clonevm centos-63-template –name floodlight1 –register 0%…10%…20%…30%…40%…50%…60%…70%…80%…90%…100% Machine has been successfully cloned as “floodlight1”
vboxmanage list vms
``````
"centos-63-template" {4875b540-5514-4d0b-bba8-ce255b7f44a2}
``````
"floodlight1" {8fb4f03d-d117-43d5-b4bf-24cdcc481686}
Now here is the part I really like about virtualbox headless mode (and yes, I know others like qemu and xen can do this), when a virtual machine is started in headless mode, the console of that host can be redirected to an RDP instance. This makes it very convenient to manage systems on an out of band network like an isolated vlan or other non-routed or non-publically available network. It also makes it very convenient for spinning up a new VM that doesn’t have an IP stack configured. Its also very handy if you have a bad day and typo a host firewall rule or network config file. This has saved me a trip more than one time. To do this, you’ll need the vrdp extension pack. To list the installed extension packs, once again, use the vboxmanage command ``` VBoxManage list extpacks Extension Packs: 0
sudo VBoxManage extpack install Oracle\_VM\_VirtualBox\_Extension\_Pack-4.2.6-82870.vbox-extpack
0%...10%...20%...30%...40%...50%...60%...70%...80%...90%...100%
Successfully installed "Oracle VM VirtualBox Extension Pack".
At this point we’re ready to fire up the VM and connect to the console.``` vboxheadless -startvm floodlight1 -vrde on -vrdeproperty “TCP/Ports”=3390& Oracle VM VirtualBox Headless Interface 4.2.6 © 2008-2012 Oracle Corporation All rights reserved.
VRDE server is listening on port 3390.
```The above command will start the VM “floodlight1”, enable vrde and set the vrde port to 3390. You should now be able to connect to the console of the host using any free or included RDP compatible client. I use the microsoft office for mac provided rdp client. 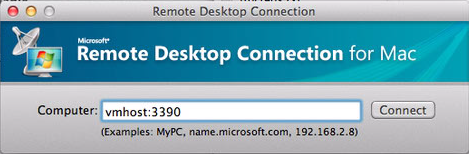 You’ll see an error when connecting since the server can’t be verified. This is expected.
 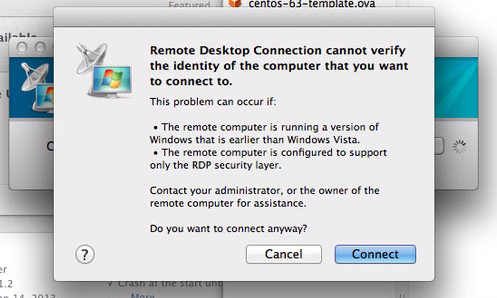 Hit connect and ta-da! Console on your VM.
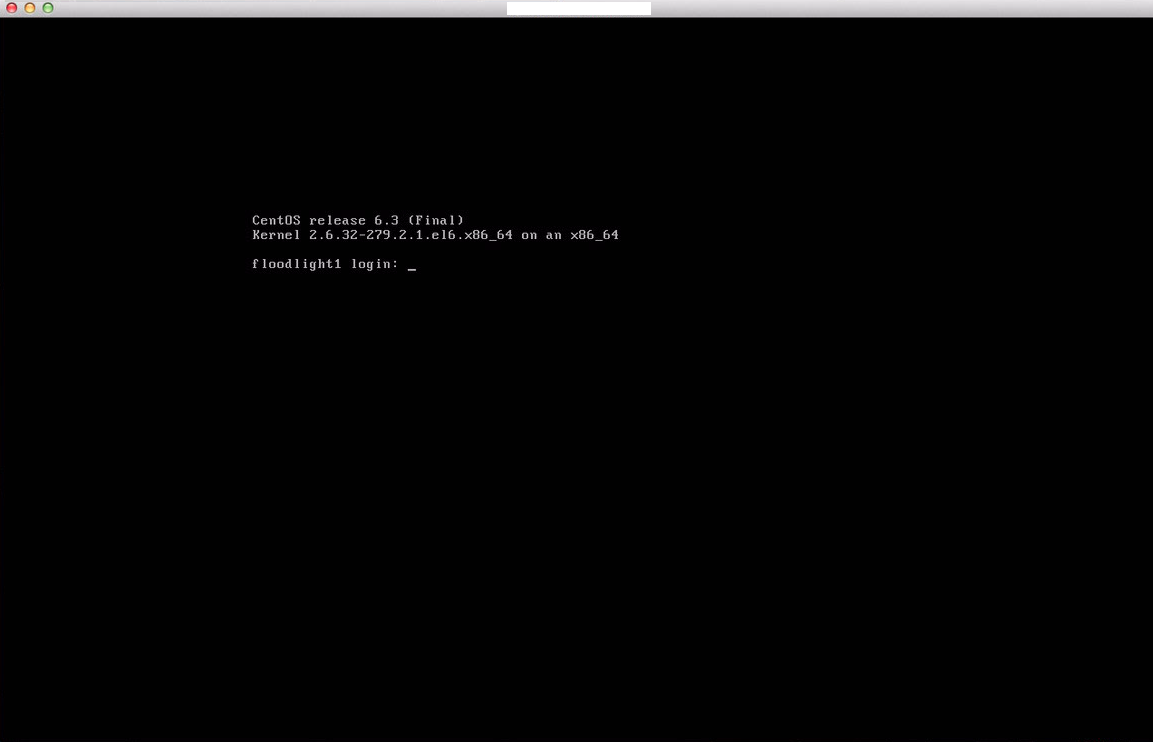
The best part about this is that it allows for really flexible management of virtual machines from a geographically different location. Other than the initial install of CentOS 6, this was done 100% remotely, without a windows host and without an expensive hypervisor license. This is perfect for labs and learning virtualization, I’d even consider this totally fine for production.
Share this post
Twitter
Google+
Facebook
Reddit
LinkedIn
StumbleUpon
Pinterest
Email